Add the Live Chat
Learn how to create and use our livechat.
Contents
You can set up the live chat in 3 simple steps:
-
Create a live chat communication channel
-
Add live chat to the webchat widget
-
Integrate webchat widget into website (if not already done)
With our unified messaging approach, live chat works as a communication channel like any other. A live chat channel always belongs to an inbox in Superchat and can be created and edited from there.
You can create as many live chat channels as you like and assign them to different inboxes. For example, create one channel per location, brand or company. But let's start easy.
First step: Create channel
-
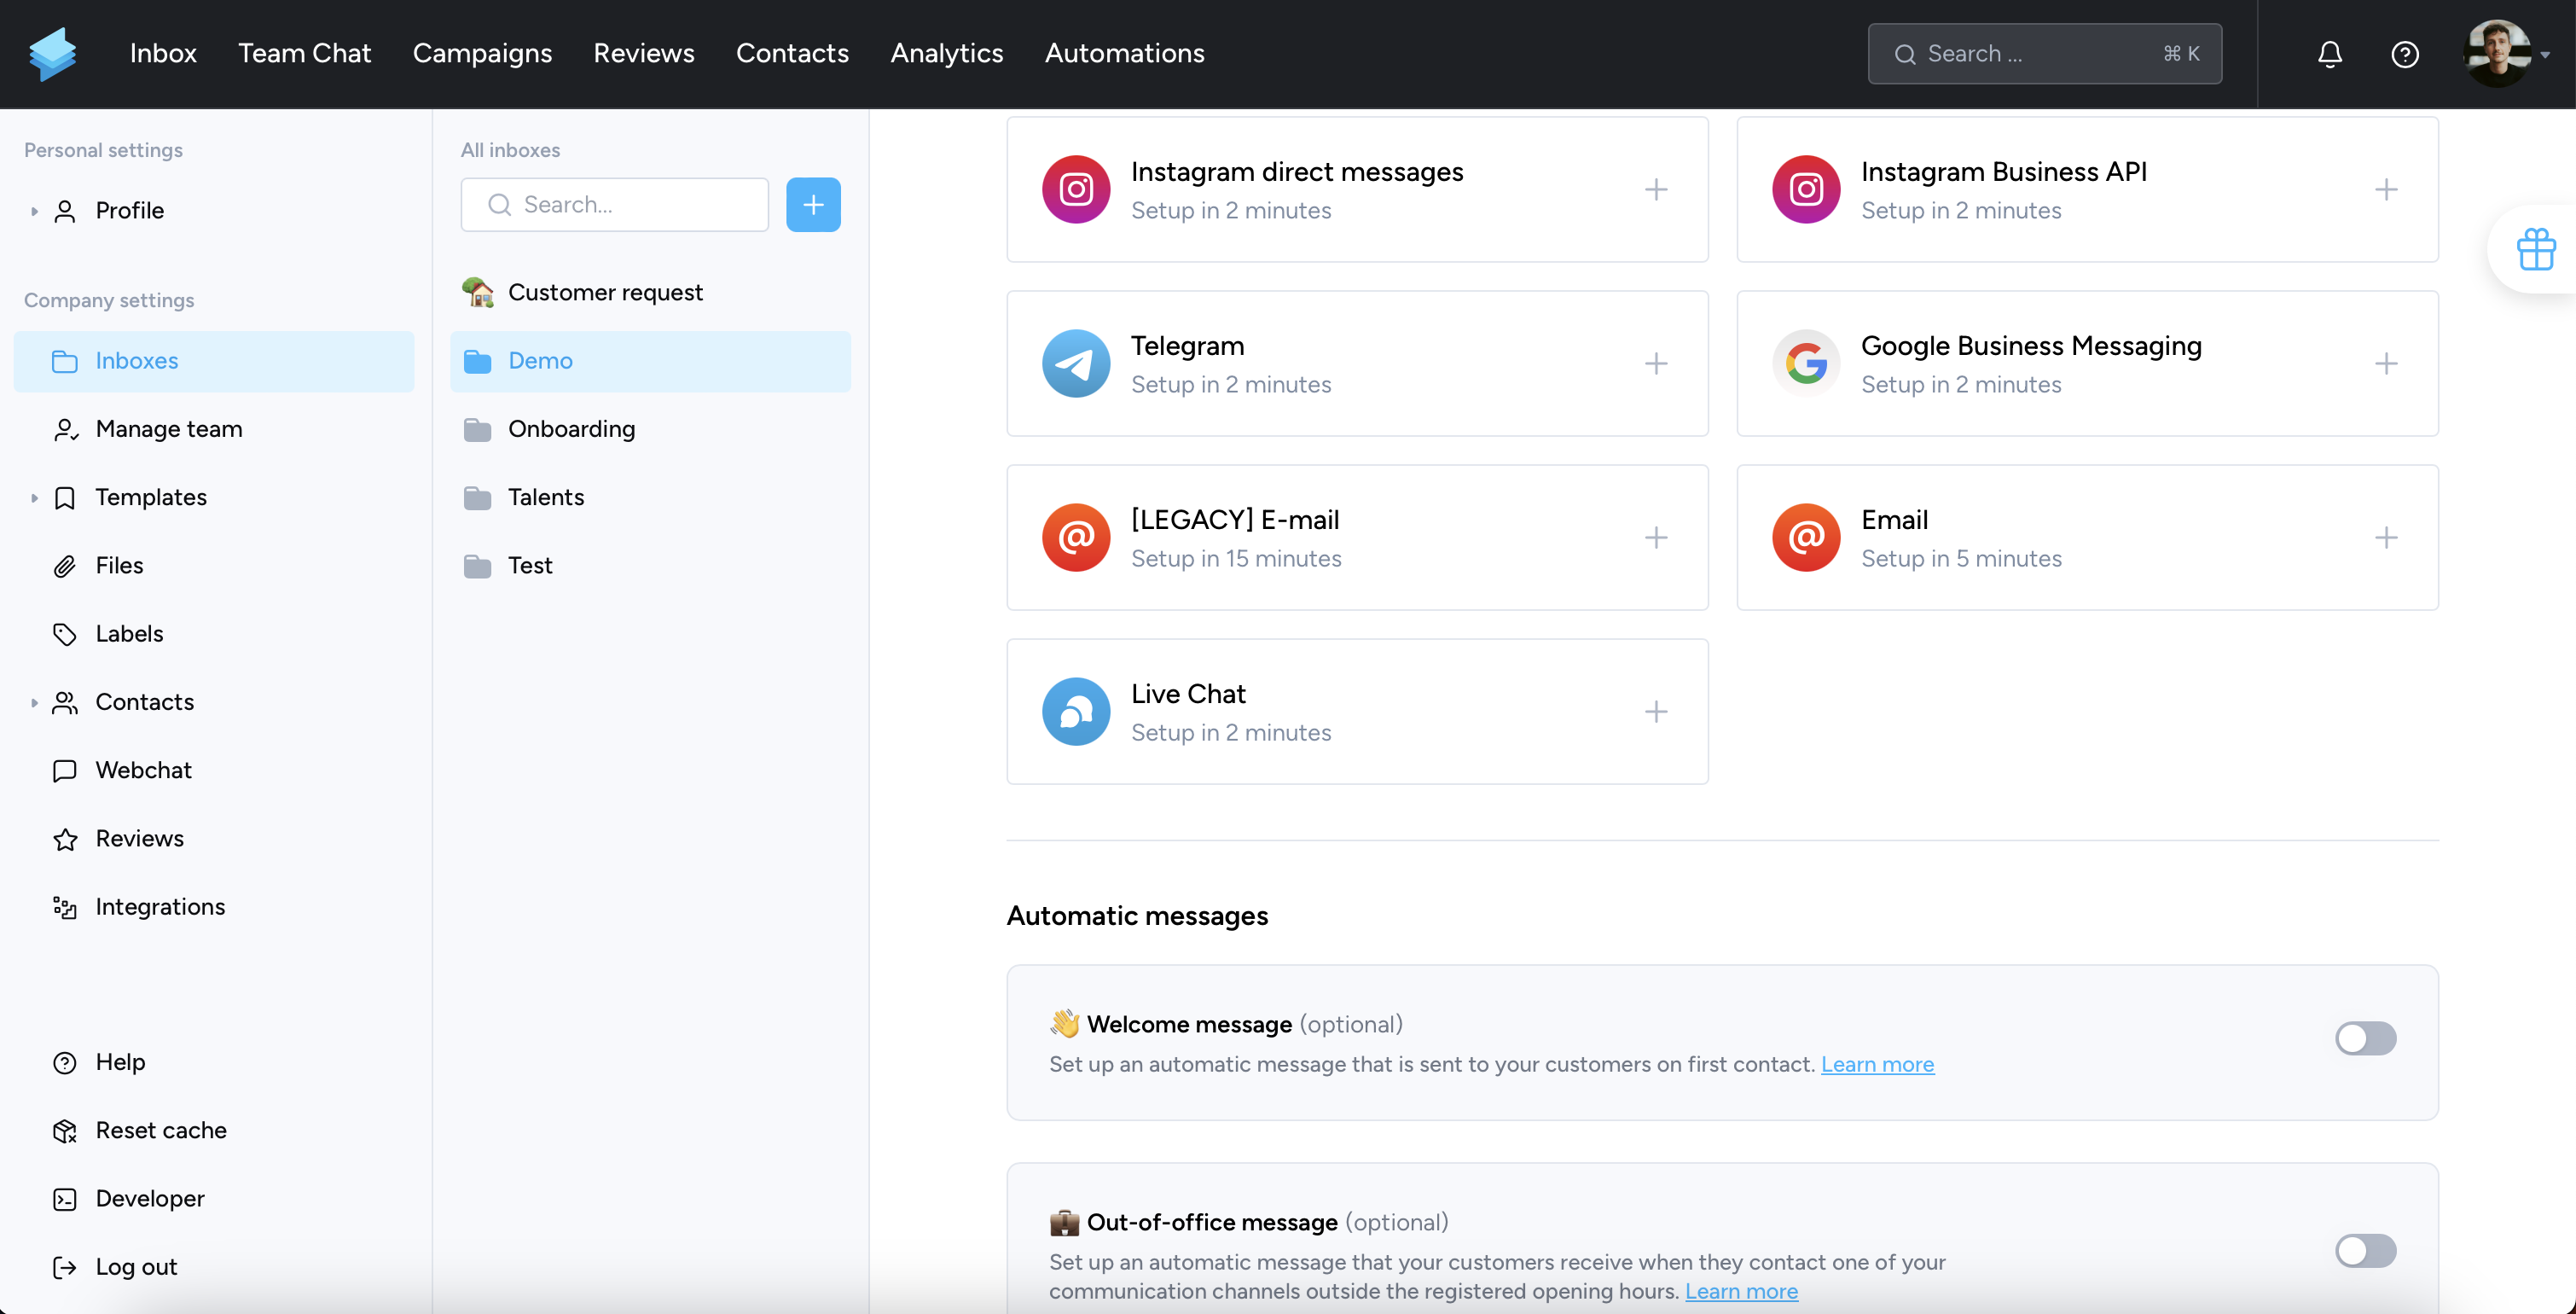
Go to Settings -> Inboxes
-
Click onto the "Live Chat" card or click "Add channel" if you already got channels connected to your inbox.

-
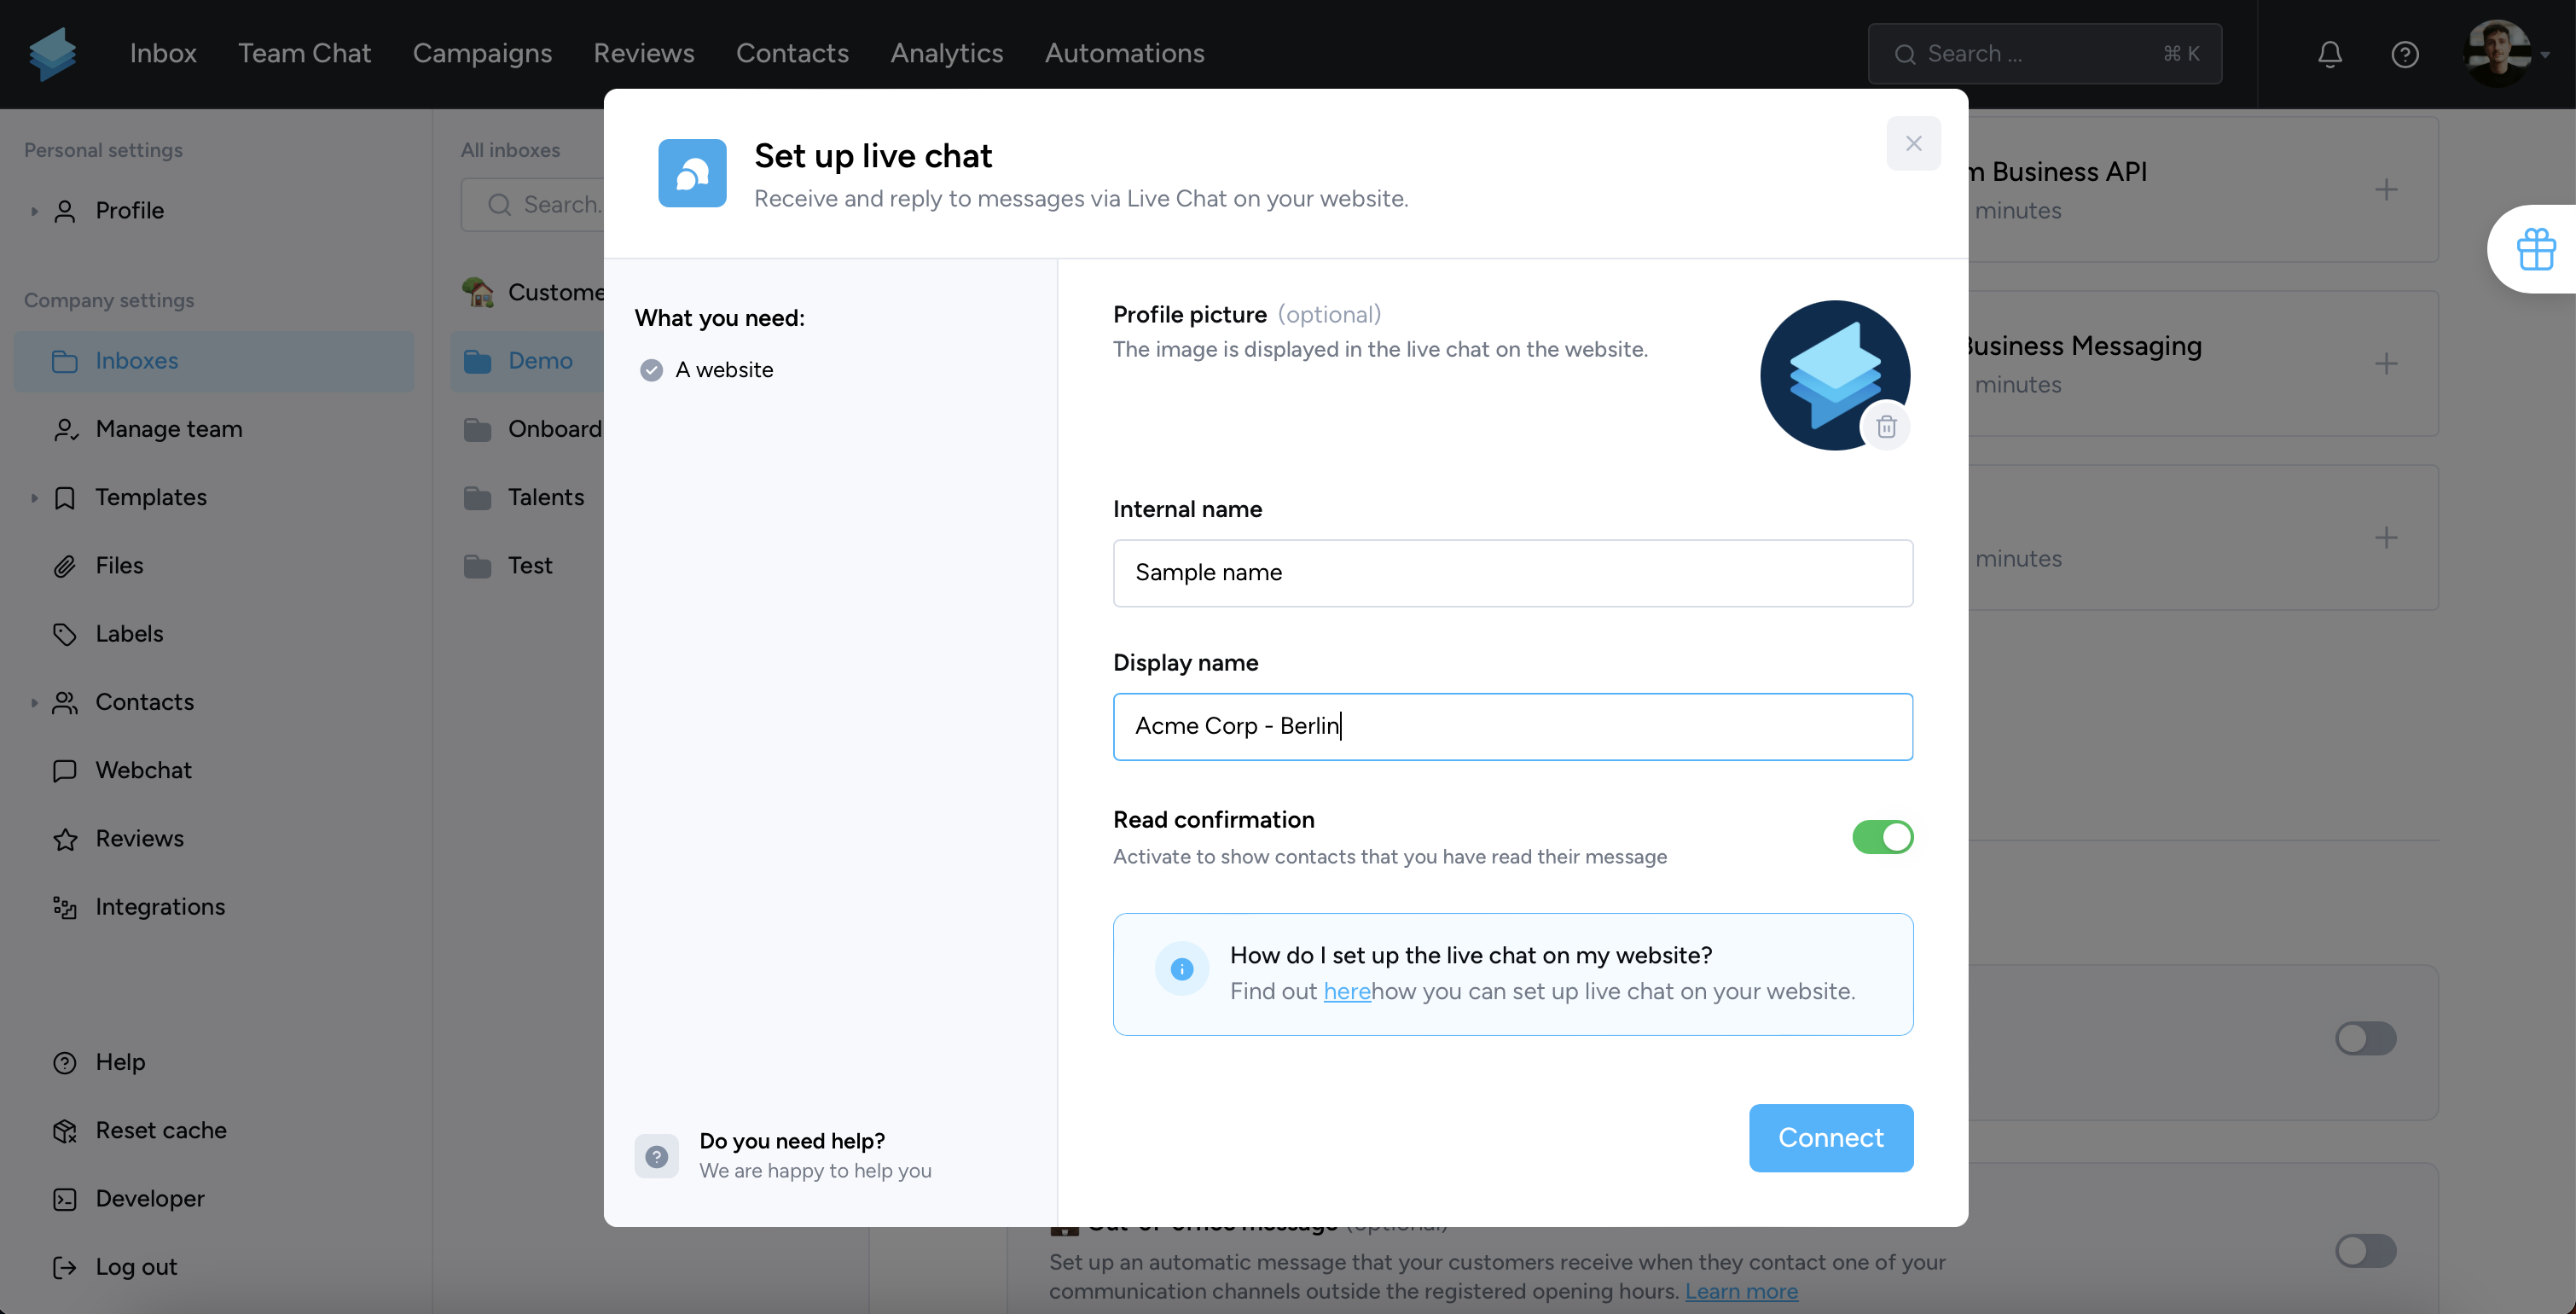
Set all your preferences for the appearance of your live chat. Assign an internal name, upload a profile picture or logo, define your display name, which will later be displayed to your contacts in the widget, and decide whether read receipts should be shown. Finally, click "Connect". Of course, all preferences can be adjusted at any time.

Second step: Add your channel to the webchat widget
-
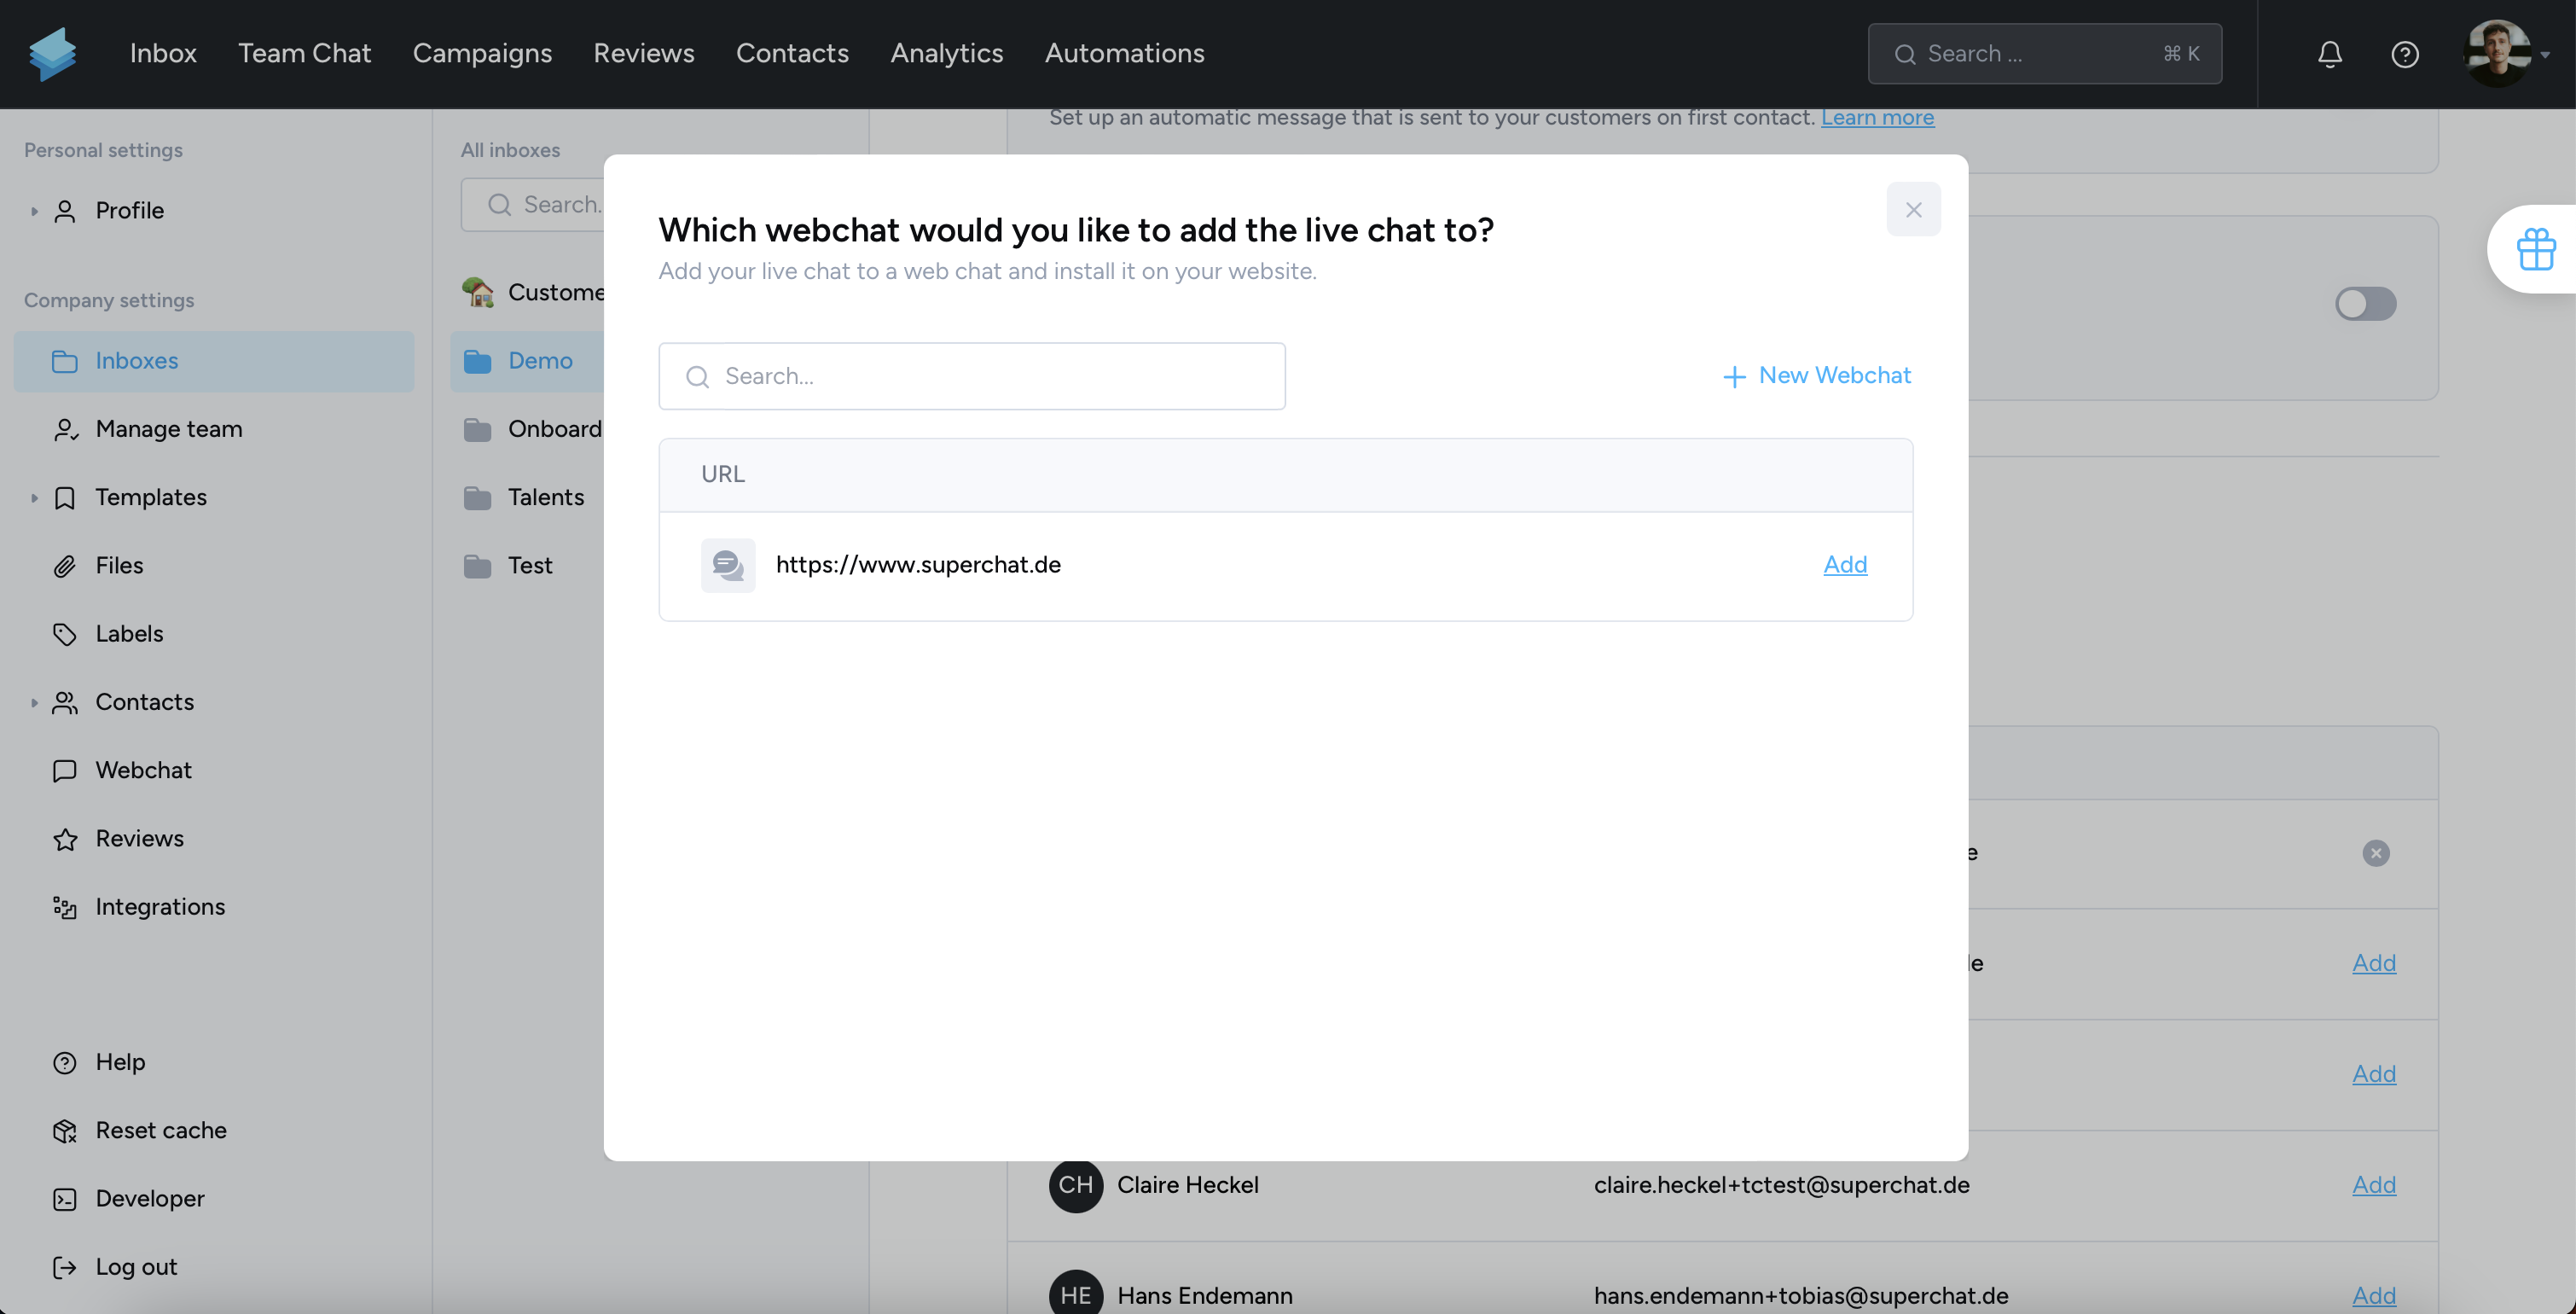
Add your live chat channel to a webchat. If you already created a webchat, you can select the desired webchat widget. You are redirected to the webchat settings. If you don't have a webchat yet, create a webchat widget directly from the modal.

-
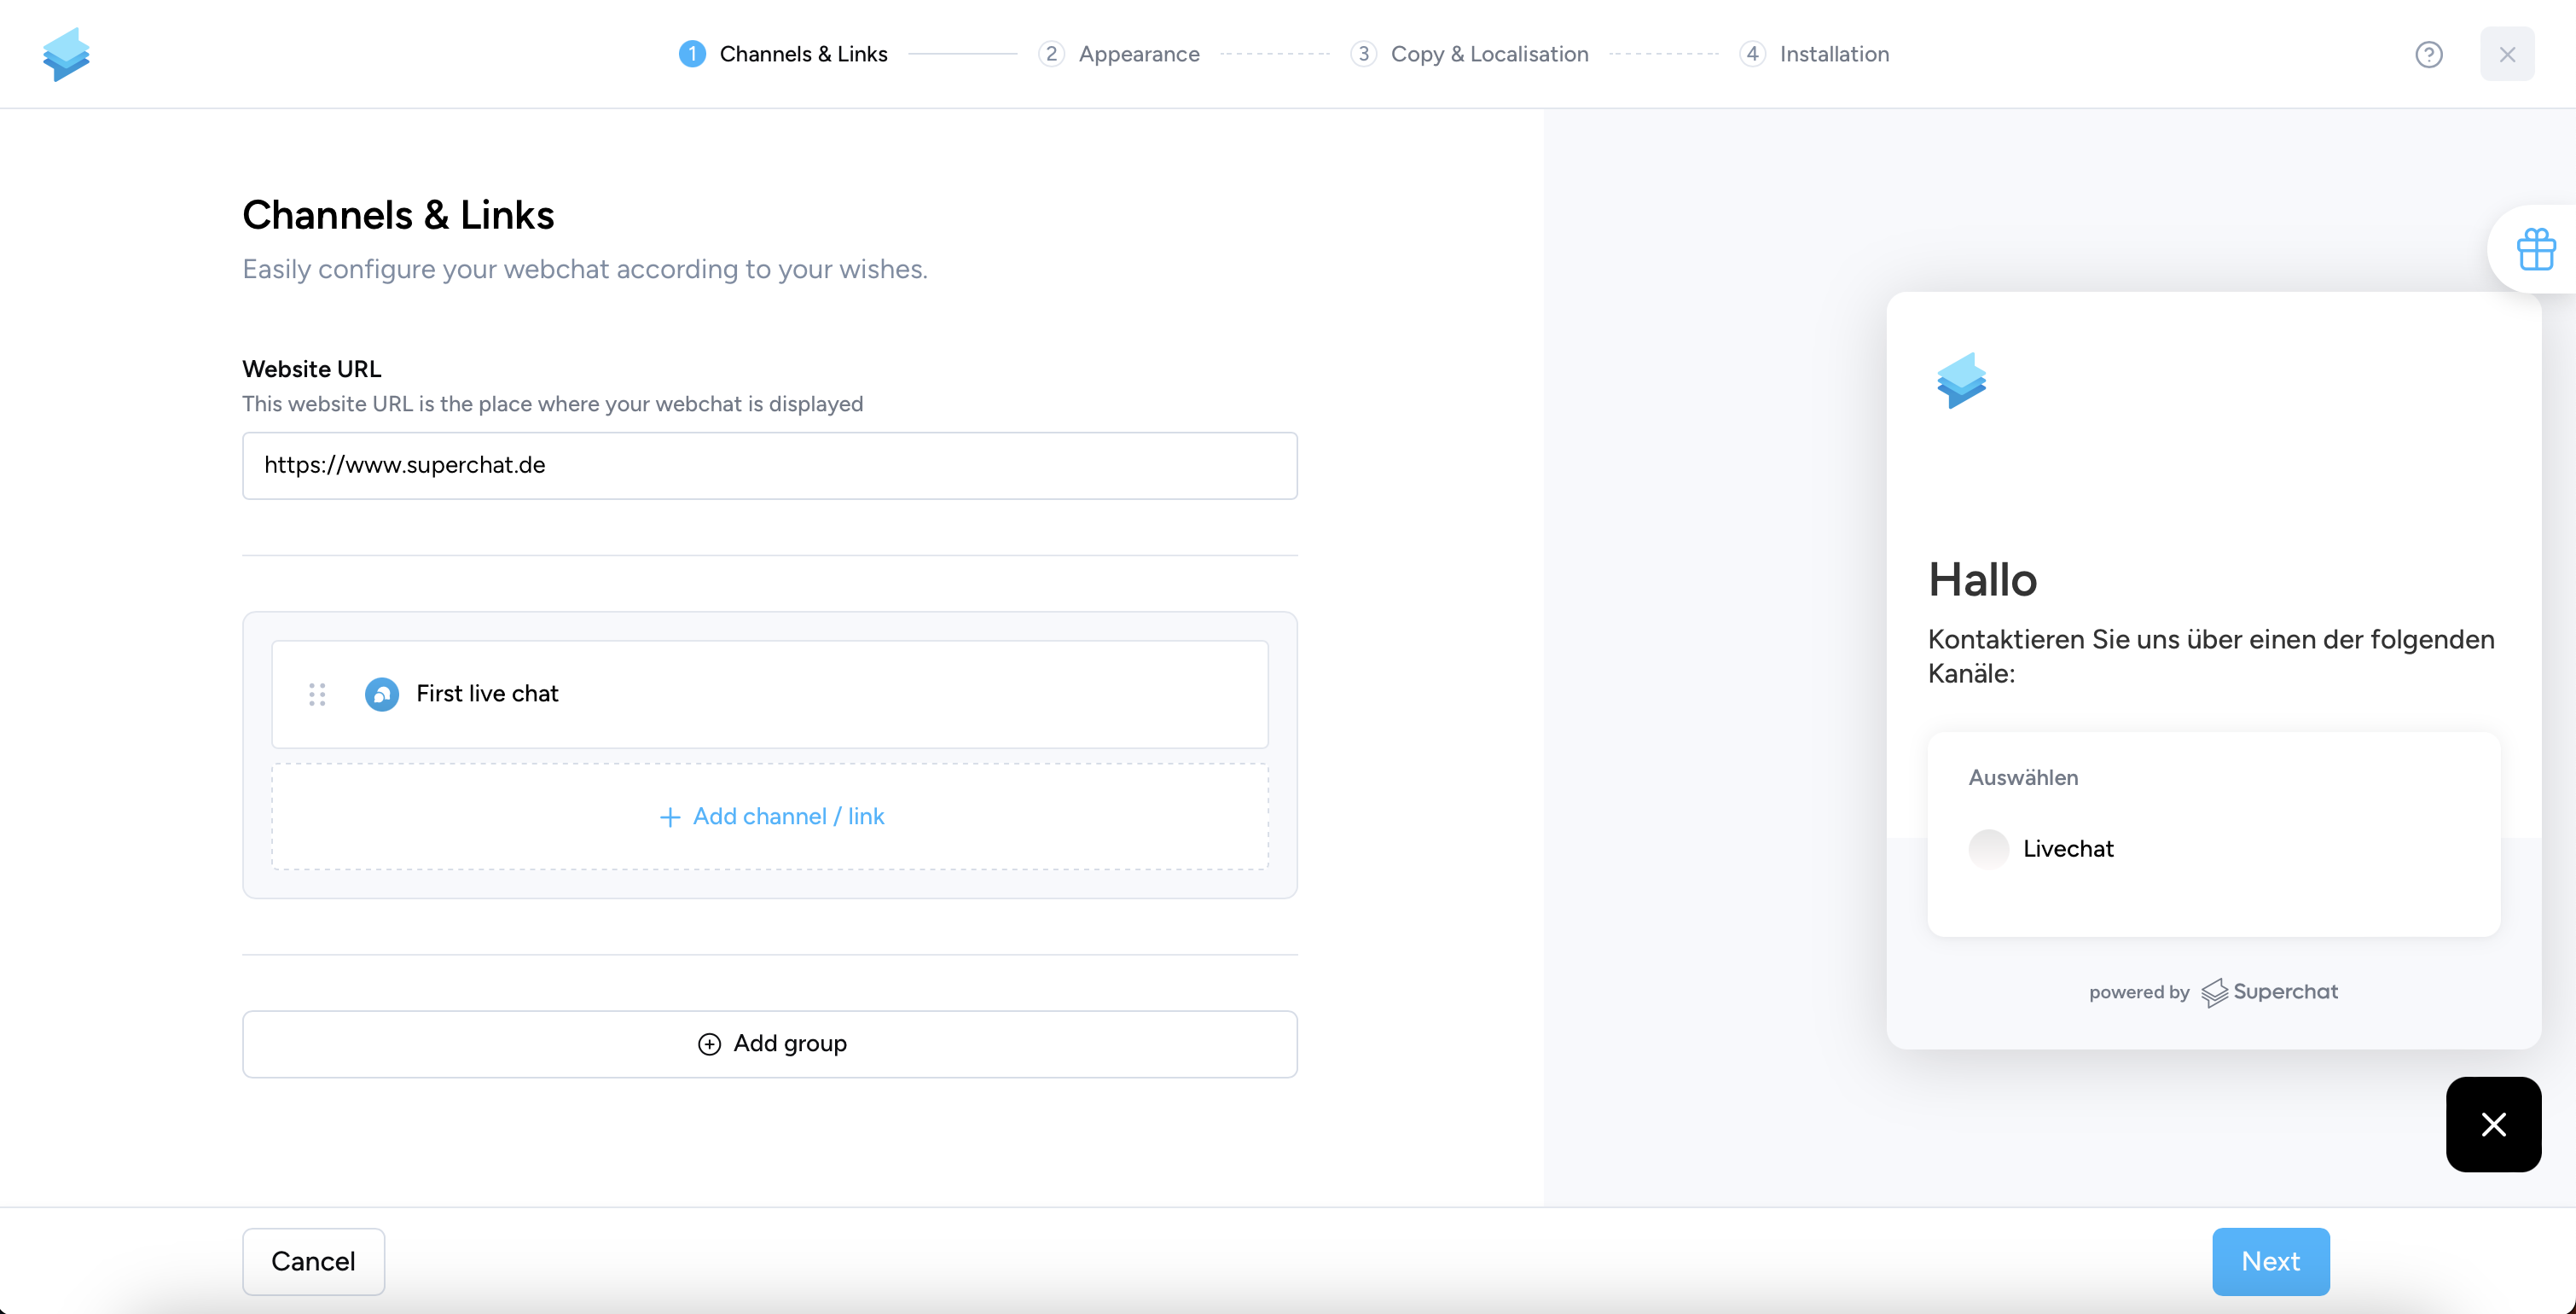
In the webchat settings, change the order of your live chat, or add the live chat to groups - as you like.

Save your webchat settings.
Third step: Add webchat widget to the website
The webchat widget is already installed on your website?
Great. Then you've made it! 🎉
Why don't you send yourself a message from your website and reply from Superchat?
You haven't installed your webchat widget on your website yet?
No problem. We got you covered.
👉 Install Webchat Widget on any website